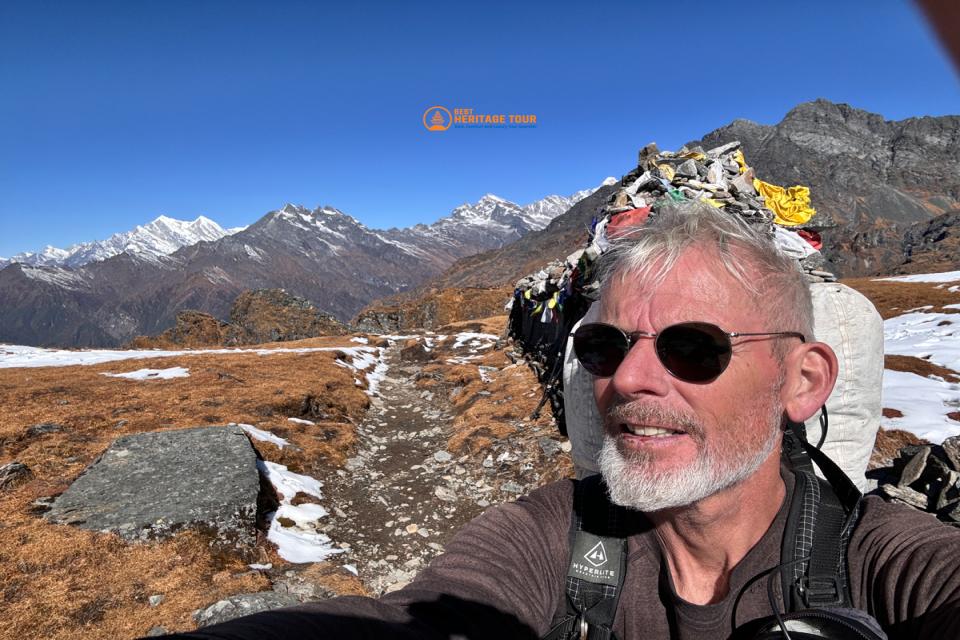
So, you’ve decided to trade the city skyline for the jagged peaks of the Himalayas? You are about to embark on a journey that, for many, is a life-altering experience. Nepal isn't just a destination; it’s a feeling of profound humility standing before the world’s highest giants.
However, we at Best Heritage Tour know that for a first-timer, the logistics of planning a trek in Nepal can feel as daunting as climbing Everest itself. From choosing the right trail and securing permits to understanding altitude sickness and packing the correct gear - there is a lot to cover.
In this exhaustive 2026 guide, we break down the process into actionable steps. Whether you are a solo traveler or a group of beginners, this is your roadmap to a successful Himalayan adventure.
Step 1: Choosing the Right Trek for Your Fitness Level
The most common mistake beginners make is picking a trek based solely on Instagram photos. While Everest Base Camp is iconic, it might not be the best starting point for everyone.
Top Recommended Treks for Beginners
-
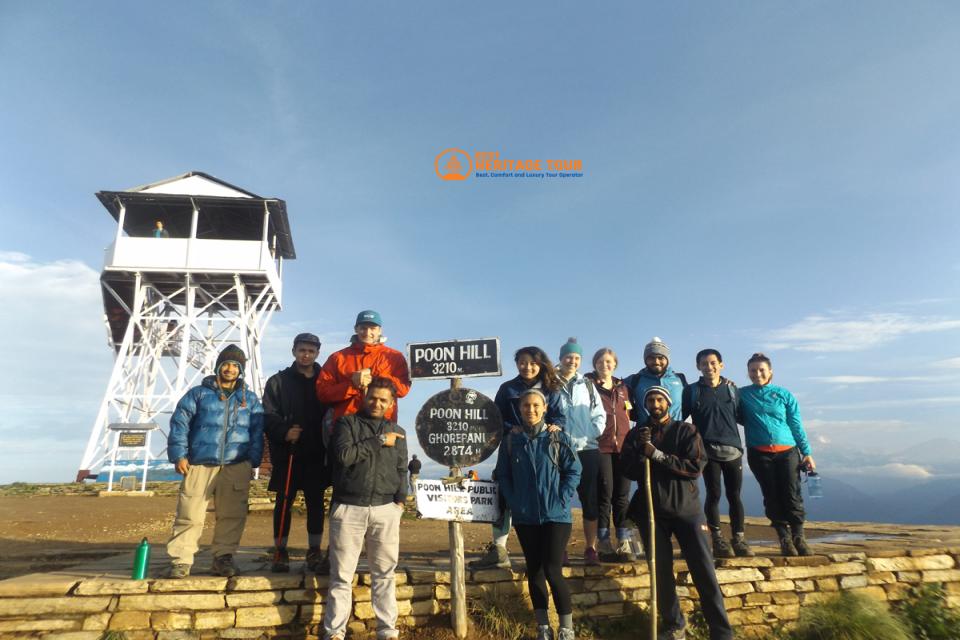
Ghorepani Poon Hill Trek (4-5 Days): Often called the "Photographer’s Paradise," this is the gold standard for first-timers. It offers stunning sunrise views over the Annapurna and Dhaulagiri ranges without requiring extreme high-altitude endurance.
-
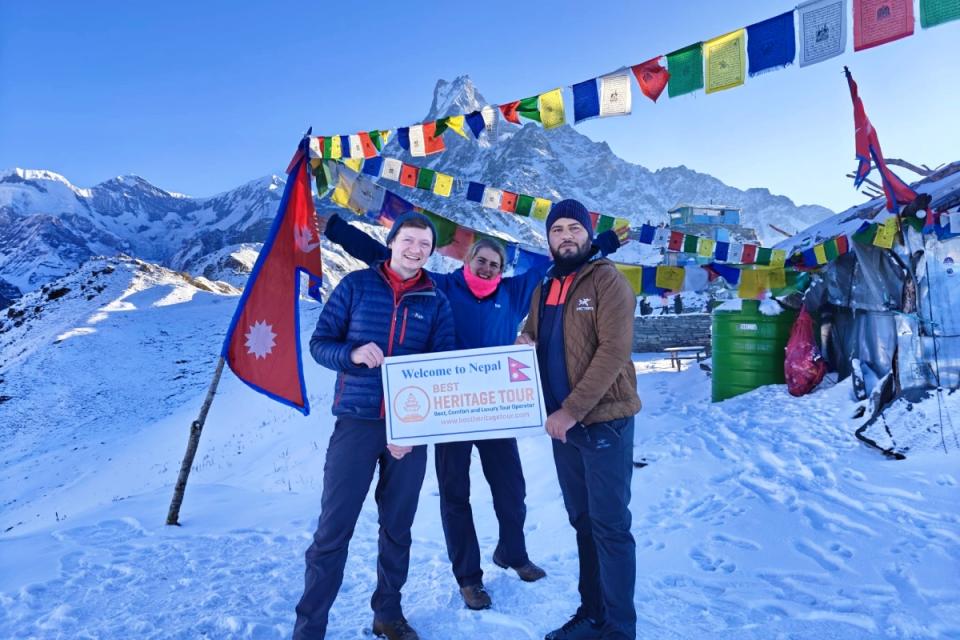
Mardi Himal Trek (5-7 Days): A "hidden gem" that has become a favorite. It’s a ridge trek, meaning you get eye-level views of Machhapuchhre (Fishtail) very quickly.
-
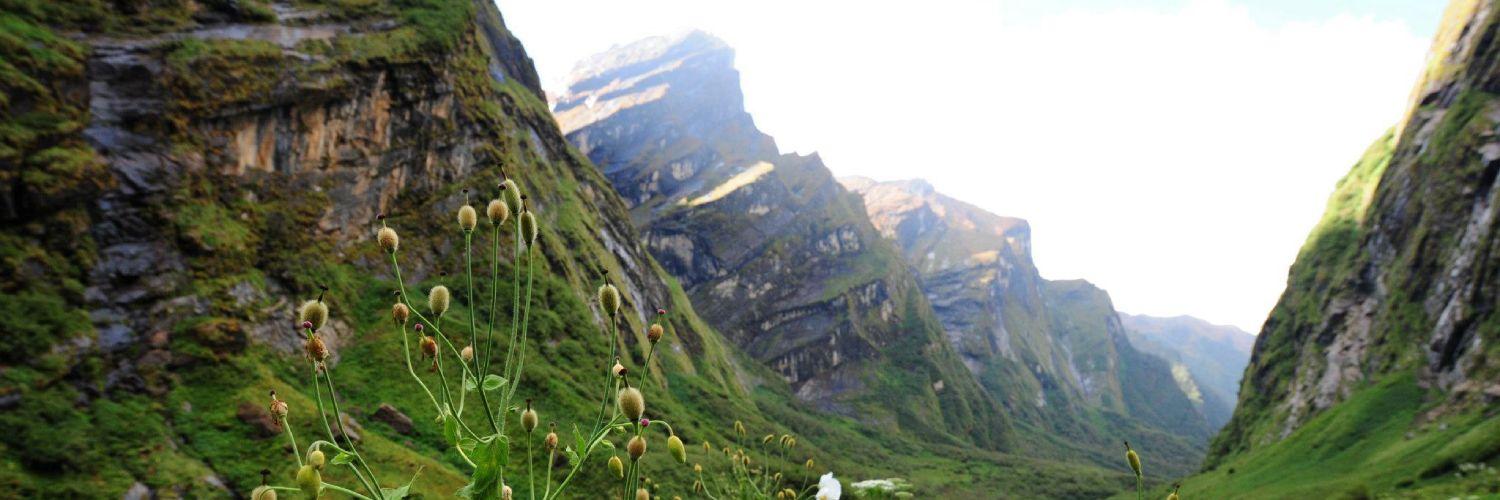
Langtang Valley Trek (7-10 Days): Closest to Kathmandu, this trek offers a deep dive into Tamang culture and resilient mountain communities, perfect for those with moderate fitness.
-
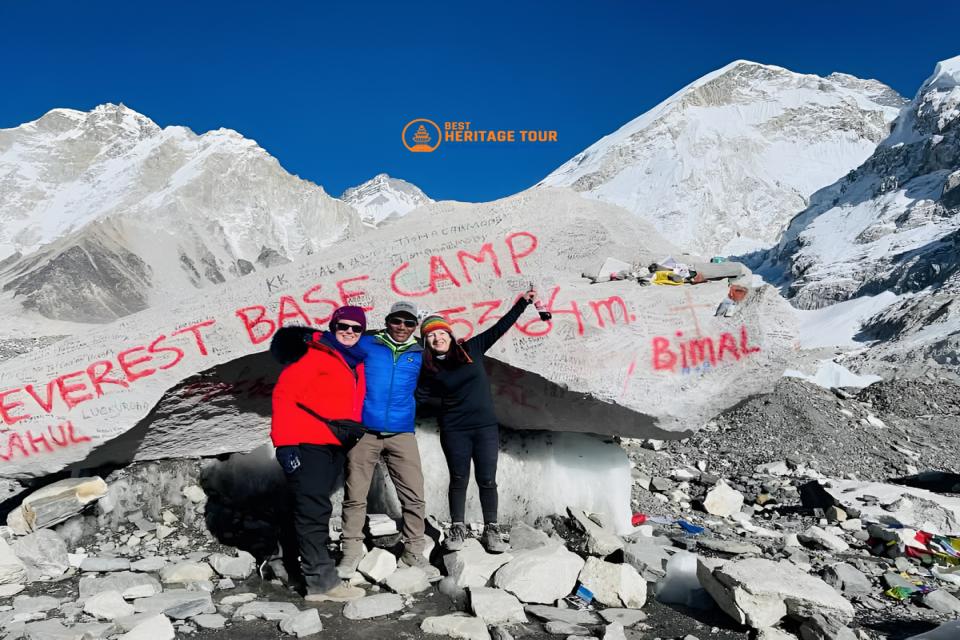
Everest Base Camp (12-14 Days): If you are physically fit and have a "go-getter" attitude, this is doable as a first trek, provided you follow a strict acclimatization schedule.
Pro Tip from Best Heritage Tour: Always look at the "Maximum Altitude" and "Daily Walking Hours" (usually 5-7 hours) rather than just the total distance.
Step 2: Picking the Perfect Season (Timing is Everything)
Nepal’s weather follows a distinct pattern. Planning your trip during the "shoulder" months can make or break your experience.
The Peak Seasons
-
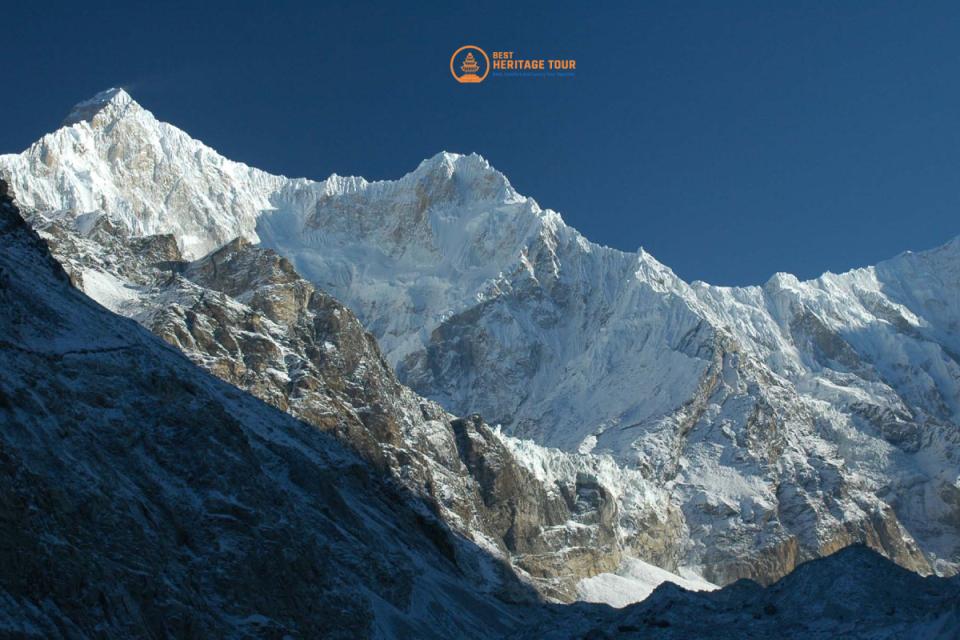
Autumn (Late September to November): This is the absolute best time for trekking in Nepal. The post-monsoon air is crystal clear, the views are sharp, and the weather is stable.
-
Spring (March to May): The second-best window. The highlight here is the blooming Rhododendrons (Nepal’s national flower) and warmer temperatures at higher altitudes.
The Off-Seasons
-
Winter (December to February): It’s cold - very cold. However, for lower-altitude treks like Poon Hill, the skies are brilliantly blue and the trails are empty.
-
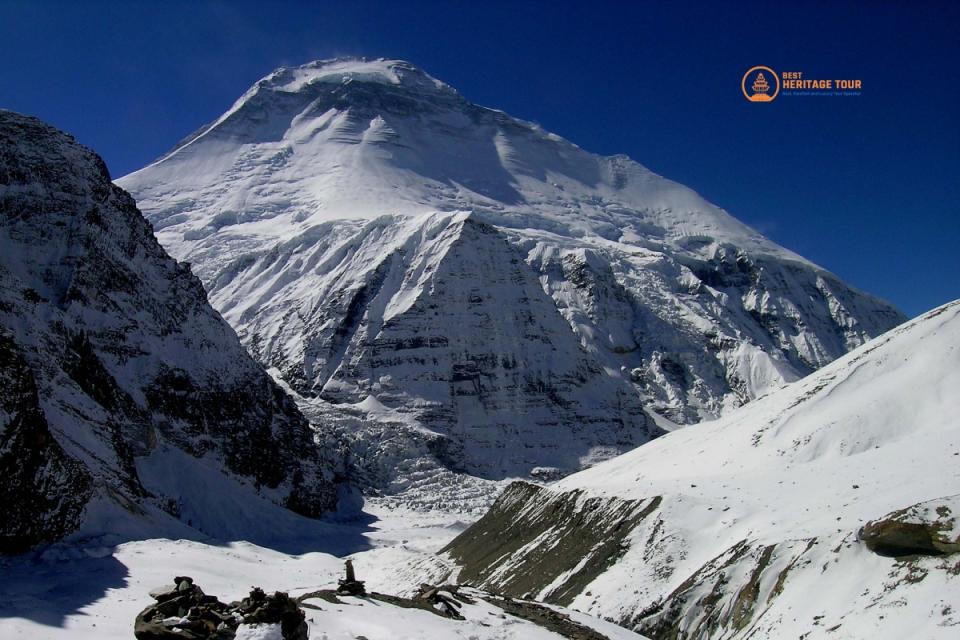
Monsoon (June to August): Generally avoided due to rain and leeches, except for "Rain Shadow" areas like Upper Mustang or Dolpo, which remain dry and vibrant.
Step 3: Understanding Permits and Paperwork
You cannot simply walk into the Himalayas. You need the right "hall pass." As of 2026, the Nepal Tourism Board has updated several regulations regarding solo trekking.
1. TIMS Card (Trekkers’ Information Management Systems)
This is a mandatory registration for safety. It helps authorities track your location in case of natural disasters or emergencies.
2. National Park / Conservation Area Permits
Most treks fall within protected zones.
-
Annapurna Region: Requires the ACAP (Annapurna Conservation Area Permit).
-
Everest Region: Requires the Khumbu Pasang Lhamu Rural Municipality Permit and the Sagarmatha National Park Permit.
3. Restricted Area Permits
For "off-the-beaten-path" areas like Upper Mustang, Manaslu, or Kanchenjunga, you need special restricted permits, which must be processed through a registered agency like Best Heritage Tour.
Step 4: Physical Preparation and Training
You don't need to be an Olympic athlete, but you shouldn't come "off the couch" either.
-
Cardio is King: Focus on swimming, cycling, or running 3-4 times a week starting at least two months before your flight.
-
Leg Strength: Lunges, squats, and step-ups will save your knees on the long Himalayan descents.
-
The "Boot Test": Never wear brand-new boots on a trek. Buy them early and wear them on weekend hikes to avoid blisters that can end your trip on Day 2.
Step 5: Essential Gear and Packing List
The "Layering System" is your best friend. Temperatures can drop from 20°C (68°F) in the sun to -10°C (14°F) once the sun sets.
The "Big Five" Essentials:
-
Down Jacket: Rated for at least -10°C.
-
Trekking Boots: Waterproof with solid ankle support.
-
Sleeping Bag: Even if staying in teahouses, a -15°C bag provides necessary warmth and hygiene.
-
Daypack (25-35L): To carry your water, camera, and rain gear.
-
Water Purification: Steripen or purification tablets to reduce plastic waste and stay healthy.
Step 6: Budgeting for Your Adventure
Nepal is affordable, but costs add up. A typical teahouse trek can cost anywhere from $40 to $80 per day, depending on the region and your personal spending habits.
What’s Included in a Professional Package?
When you book with Best Heritage Tour, we handle the "heavy lifting":
-
Domestic flights (e.g., Kathmandu to Lukla).
-
All permits and government taxes.
-
Professional, English-speaking licensed guides.
-
Experienced porters (who carry the bulk of your gear).
-
Accommodation and three meals a day.
What to Budget Separately:
-
Tips: Standard practice is about 15-20% of the trek cost for the crew.
-
Wi-Fi & Charging: Teahouses often charge $2-$5 for these services.
-
Hot Showers: Usually $3-$5 in the mountains.
Step 7: Life on the Trail (Teahouse Culture)
Most treks in Nepal are "Teahouse Treks." You won't be sleeping in tents; instead, you’ll stay in local lodges.
-
The Food: The legendary "Dal Bhat" (lentil soup, rice, and vegetable curry) is the ultimate fuel. It’s "24-hour power!"
-
The Social Life: The dining room is the heart of the teahouse, heated by a central stove where trekkers from around the world share stories.
-
Acclimatization: The rule is "Walk high, sleep low." Your guide will ensure you don't ascend more than 300-500 meters of sleeping altitude per day.
Step 8: Safety, Altitude Sickness, and Insurance
Acute Mountain Sickness (AMS) is a real concern above 3,000 meters.
Recognizing AMS
Symptoms include persistent headaches, nausea, and loss of appetite. Our guides are trained to monitor your oxygen levels daily. If symptoms persist, the only cure is to descend.
Travel Insurance is Mandatory
Ensure your policy specifically covers "Trekking up to 6,000 meters" and "Emergency Helicopter Evacuation." Without this, a rescue can cost upwards of $5,000 out of pocket.
Step 9: Why Choosing a Local Agency Matters
In 2026, the landscape of trekking has shifted towards more sustainable and regulated tourism. Booking with a local expert like Best Heritage Tour ensures:
-
Authenticity: We take you to the "real" villages, not just the tourist hubs.
-
Fair Wages: We ensure our porters and guides are paid above industry standards and are fully insured.
-
Safety: Our guides have 10+ years of experience navigating the specific weather patterns of the Himalayas.
Conclusion
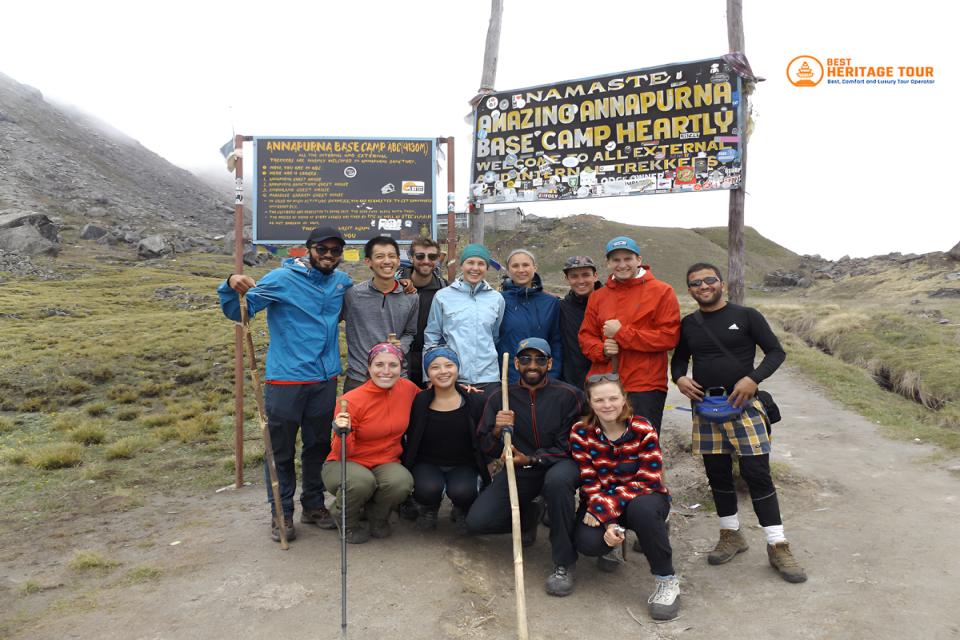
Planning a trek in Nepal as a beginner might seem like a giant puzzle, but when the pieces fit together, the result is a masterpiece. From the first sight of the sun hitting the peaks of the Annapurna range to the final "Namaste" from your trekking crew, every step is a lesson in resilience and beauty.
At Best Heritage Tour, we don't just sell "trips"; we craft experiences that respect the local culture and preserve the heritage of our ancestors. We are here to ensure your first trek in Nepal is safe, ethical, and utterly unforgettable.
Ready to Take the First Step?
Don't let the planning overwhelm you. Contact our expert travel consultants today for a free itinerary consultation or to customize your dream Himalayan trek.
Phone / WhatsApp / Viber: +977-9851149197 / +977-9810043046
Email: info@bestheritagetour.com / bestheritagetour@gmail.com
Website: www.bestheritagetour.com
Office: Thamel Marg, Kathmandu, Nepal
Author: Best Heritage Tour
Date: 6th April, 2026