What to do if you get blisters while trekking in Nepal?
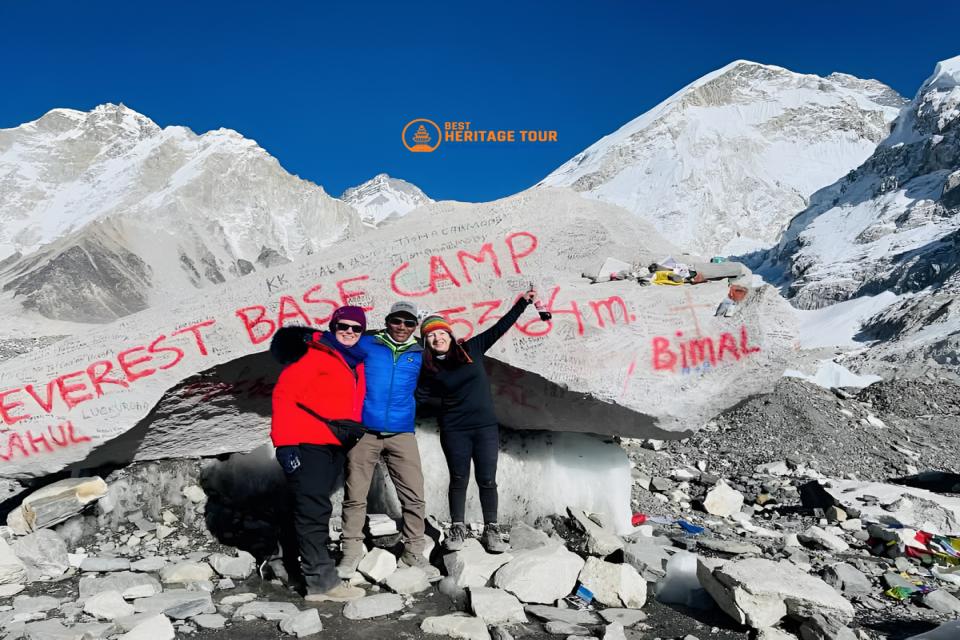
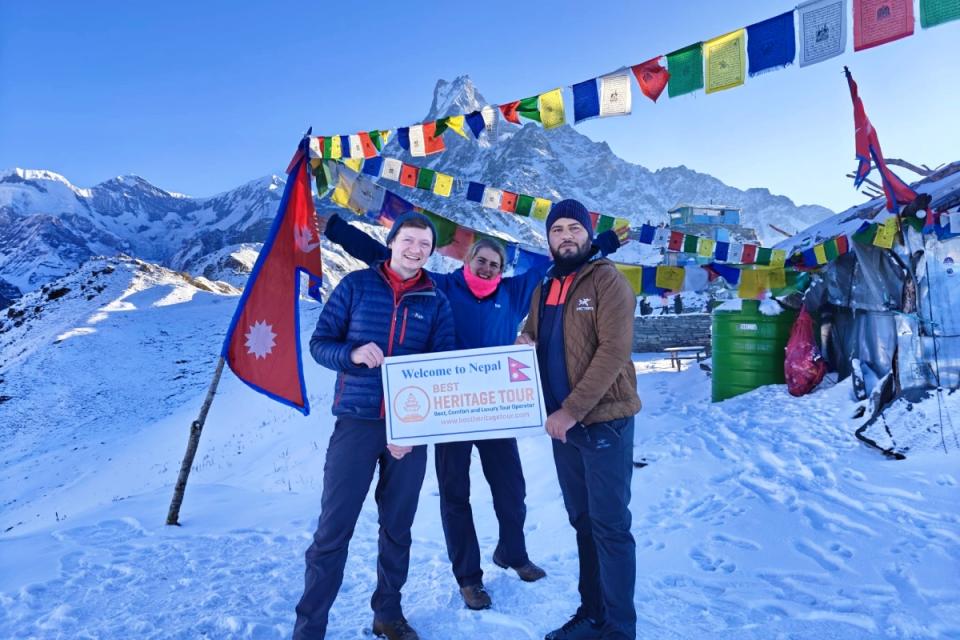
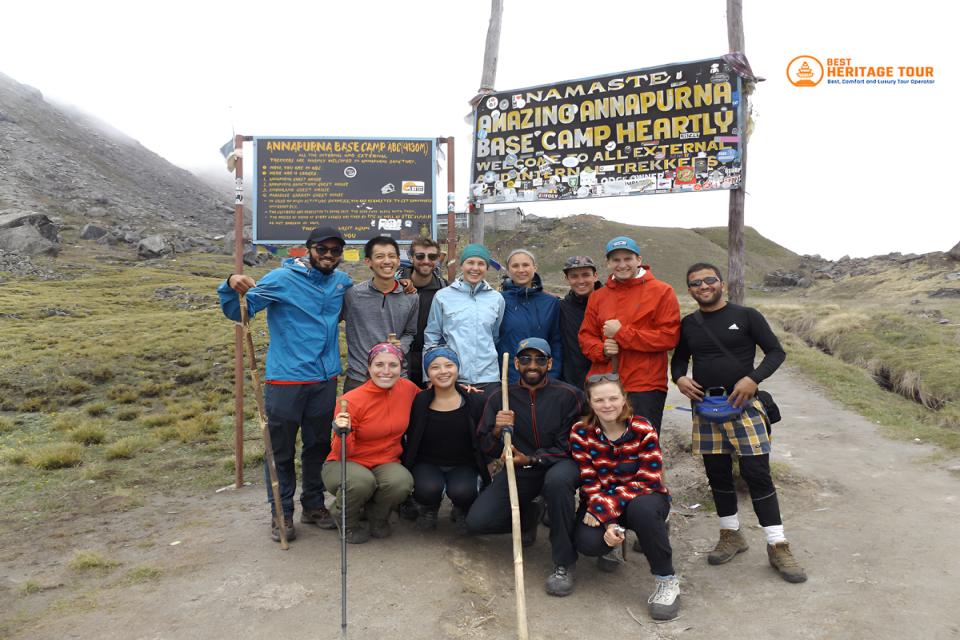
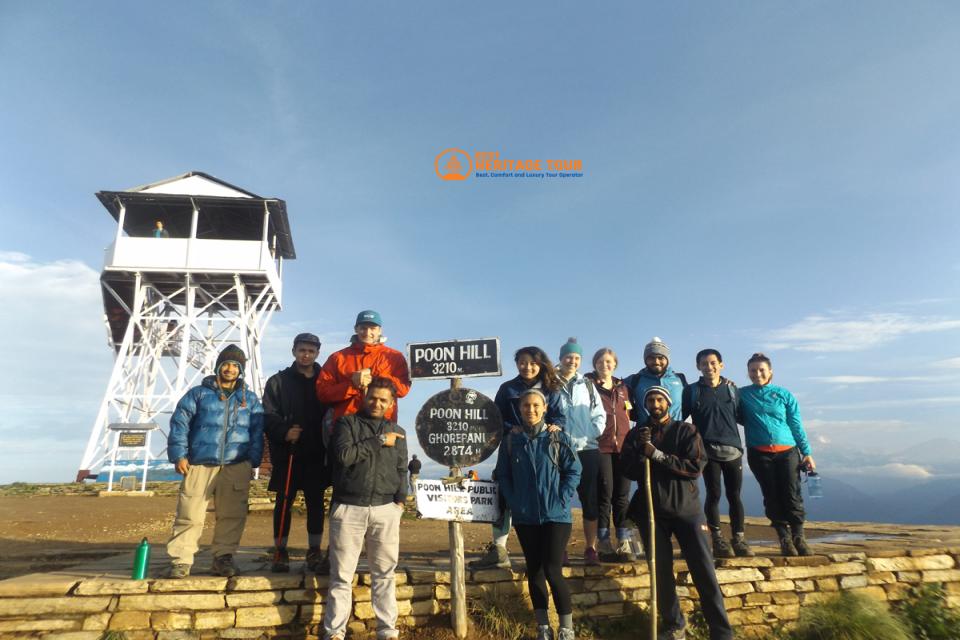
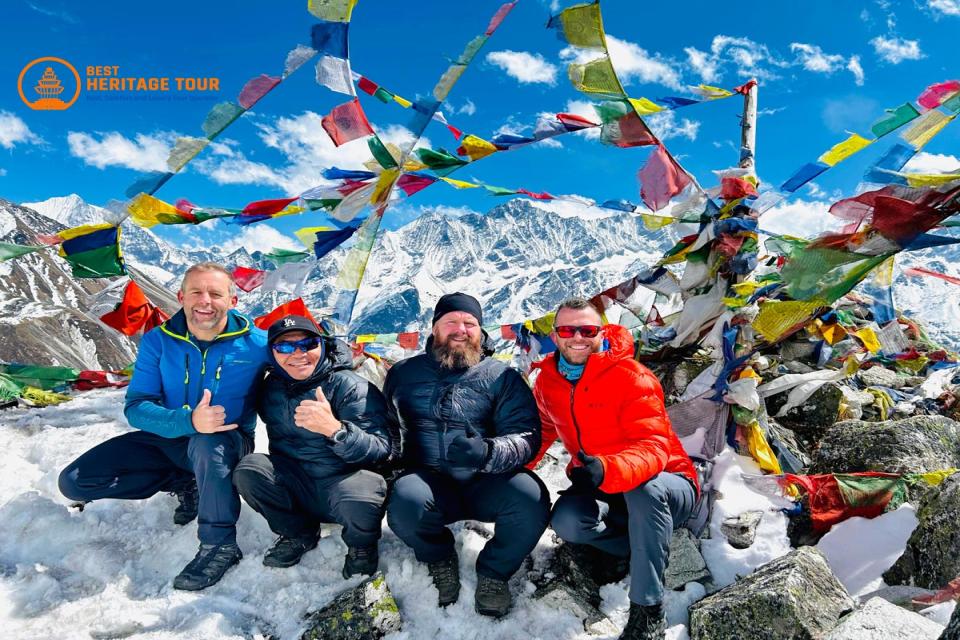
Trekking in Nepal is a transformative experience. Whether you are navigating the rhododendron forests of the Annapurna region, standing before the mighty Everest, or traversing the remote passes of Manaslu, every step brings a new perspective. However, there is one small, fluid-filled enemy that can turn a spiritual journey into a painful ordeal: the foot blister.
At Best Heritage Tour, we have guided thousands of trekkers through the Himalayas. We know that while the mountains are grand, it’s often the smallest details-like a "hot spot" on your heel-that determine the success of your trek. In this comprehensive guide, we will walk you through exactly what to do if you get blisters while trekking in Nepal, how to treat them in remote teahouses, and most importantly, how to prevent them from ever starting.
Understanding the "Why": What Causes Blisters in the Himalayas?
Before we dive into the "how-to," it is essential to understand why blisters are so common in Nepal specifically. Blisters are caused by friction, heat, and moisture. When you combine the rugged, uneven terrain of the Himalayas with long trekking days, your feet undergo significant stress.
-
Repetitive Friction: Trekking in Nepal involves thousands of vertical steps daily. This creates constant rubbing between your skin, your socks, and your boots.
-
Moisture and Sweat: Even in cold altitudes, your feet sweat. Moisture softens the skin (maceration), making it much more susceptible to tearing.
-
Altitude and Swelling: High altitude can cause peripheral edema (swelling of the limbs). As your feet swell, boots that fit perfectly in Kathmandu might suddenly become tight and create pressure points.
-
The Terrain: Steep descents (like the legendary "knee-knocker" downhill from Namche to Phakding) push your toes to the front of your boots, leading to friction in areas you wouldn't normally notice during flat walks.
Step 1: Catching the "Hot Spot" (The Golden Rule)
The most important advice we give our clients at Best Heritage Tour is this: Never ignore a hot spot.
A "hot spot" is that initial feeling of warmth, redness, or slight stinging before a blister actually forms. This is the "Point of No Return." If you stop and treat a hot spot immediately, you save yourself days of pain.
What to do:
-
Stop Immediately: Tell your guide you need five minutes. Do not wait until the next tea break or the lunch stop.
-
Dry the Area: Take off your boot and sock. Let the skin air out.
-
Apply Protection: Use Moleskin, Kinesiology (KT) Tape, or a simple Leukotape over the red area. Ensure the tape is applied smoothly without any wrinkles, as wrinkles create new friction.
-
Check your Socks: Ensure there are no folds in your socks before putting your boots back on.
Step 2: Treating an Intact Blister
If you missed the hot spot and now have a raised, fluid-filled bubble, your primary goal is to keep the roof intact. The skin covering a blister is a natural, sterile bandage provided by your body. Breaking it increases the risk of infection-a serious concern when you are days away from a modern hospital.
The "Doughnut" Method
To walk comfortably without popping the blister, you need to redirect the pressure away from it.
-
Cut a piece of Moleskin: Cut a square larger than the blister.
-
Create the Hole: Fold it in half and cut a semi-circle out of the center. When you unfold it, you should have a "doughnut" shape.
-
Apply: Place the hole directly over the blister so the Moleskin surrounds it.
-
Layering: If the blister is deep, you can stack two layers of Moleskin.
-
Cover: Place a breathable bandage or a piece of tape over the top to keep debris out.
Step 3: Dealing with a Painful or Burst Blister
Sometimes, a blister is so large or under so much pressure (especially on the heel) that it becomes impossible to walk. In these cases, a "controlled drain" may be necessary.
How to Safely Drain a Blister on the Trail:
-
Sanitize: Wash your hands with soap and use hand sanitizer. Clean the blister and surrounding skin with an alcohol wipe or iodine (Betadine) from your first aid kit.
-
Sterilize the Needle: Use a sterile needle from your medical kit. If you don't have one, sterilize a safety pin using a flame until it’s red hot, then let it cool.
-
The Approach: Do not poke the center. Prick the blister at its base (the edge) in one or two spots. This allows gravity to help the fluid drain as you walk.
-
Drain: Gently press the fluid out using a clean gauze pad. Do not remove the "roof" (top skin).
-
Antibiotic Care: Apply a thin layer of antibiotic ointment (like Neosporin) over the hole.
-
Dress it: Cover it with a Hydrocolloid dressing (like Compeed). These are "second skin" bandages that are waterproof and promote faster healing.
Pro-Tip from our Guides: If a blister bursts on its own, treat it as an open wound. Clean it immediately with antiseptic, apply ointment, and cover it. In the dusty environment of the Nepal trails, an open blister is an open door for bacteria.
Essential Blister Kit for Nepal
When packing for your trek with Best Heritage Tour, ensure your personal first aid kit includes these specific items:
-
Compeed or Hydrocolloid Plasters: The absolute "gold standard" for trekking.
-
Moleskin: Great for creating "doughnut" pads.
-
Leukotape or Zinc Oxide Tape: Highly adhesive tape that stays on even when you sweat.
-
Antiseptic Wipes and Betadine: For cleaning wounds.
-
Antibiotic Ointment: To prevent infection.
-
Small Scissors and Sterile Needles.
Prevention: How to Stay Blister-Free
Prevention starts long before you land at Tribhuvan International Airport. Here is how we recommend our trekkers prepare their feet:
1. The Right Footwear
-
Break them in: Never wear brand-new boots on a trek. Wear them for at least 30-50 kilometers of hiking back home.
-
Correct Sizing: Your feet will swell at altitude. Ensure there is about a "thumb's width" of space between your toes and the front of the boot.
-
Professional Fitting: Visit a specialized outdoor store to check your arch support and heel lock.
2. The Power of Socks
-
No Cotton: Cotton absorbs moisture and stays wet. Use Merino Wool or high-quality synthetic blends (like Smartwool or Darn Tough).
-
The Liner Strategy: Many of our guides swear by wearing a thin liner sock under a thicker trekking sock. This causes the friction to happen between the two layers of socks rather than between the sock and your skin.
-
Keep them Dry: If you cross a stream and get your feet wet, or if you are a heavy sweater, change your socks mid-day. Hang the damp ones on your backpack to dry in the sun.
3. Foot Care Routine
-
Trim your Nails: Long toenails hit the front of the boot on descents, causing "hiker’s toe" and blisters under the nail.
-
Talcum Powder: If you have naturally sweaty feet, applying a bit of foot powder in the morning can help manage moisture.
-
Air them Out: During your lunch break, take off your boots and socks. Let your feet breathe and dry completely.
Conclusion
Blisters might seem like a minor inconvenience, but in the heart of the Himalayas, your feet are your only engine. Taking ten minutes to treat a hot spot today can be the difference between reaching Thorong La Pass or having to turn back early.
At Best Heritage Tour, your safety and comfort are our top priorities. Our guides are trained in wilderness first aid and carry comprehensive medical kits, but being prepared with your own knowledge and supplies is the mark of a seasoned trekker.
Are you planning your next Himalayan adventure? Let us handle the logistics while you enjoy the views.
Phone / WhatsApp / Viber: +977-9851149197 / +977-9810043046
Email: info@bestheritagetour.com / bestheritagetour@gmail.com
Website: www.bestheritagetour.com
Office: Thamel Marg, Kathmandu, Nepal
Author: Best Heritage Tour
Date: 18th March, 2026